If you’ve ever admired sparkling jewelry and thought, “I wish I could make that,” you’re in the right place. Welcome to the colorful world of DIY acrylic gem jewelry—a fun, affordable, and surprisingly simple way to create eye-catching accessories from the comfort of your own home. In this guide, we’ll show you exactly how to make acrylic gem earrings, explain the best glue for acrylic gems, give you an acrylic gem necklace tutorial, explore the beauty of acrylic craft gems for scrapbooking, and provide top acrylic gem jewelry care tips to keep your creations looking great.
DIY Acrylic Gem Jewelry: Why Acrylic Gems?
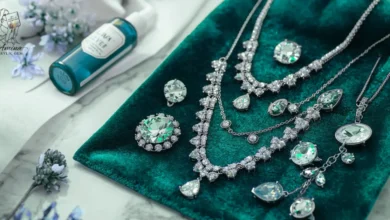
Acrylic gems are lightweight, inexpensive, and come in a dazzling variety of colors and shapes. Unlike glass or crystal gems, acrylic is easier to work with, especially for beginners. Plus, they’re kid-friendly, which makes them perfect for family craft time. Think of them as the perfect blend of beauty and practicality.
Creativity is intelligence having fun. — Albert Einstein
Whether you’re a hobbyist or someone looking to start a small handmade business, acrylic gem jewelry is an ideal entry point.
Materials You’ll Need
To get started, gather the following:
- Assorted acrylic gems (flat-back)
- Jewelry findings (earring hooks, necklace chains, jump rings)
- Jewelry pliers
- Tweezers
- Felt or silicone mat (for workspace)
- Best glue for acrylic gems: E6000, Aleene’s Jewelry Glue, or UV resin (for a professional finish)
- Toothpicks or cotton swabs (for applying glue)
Optional:
- Clear sealant spray (for durability)
- Acrylic craft gems for additional projects
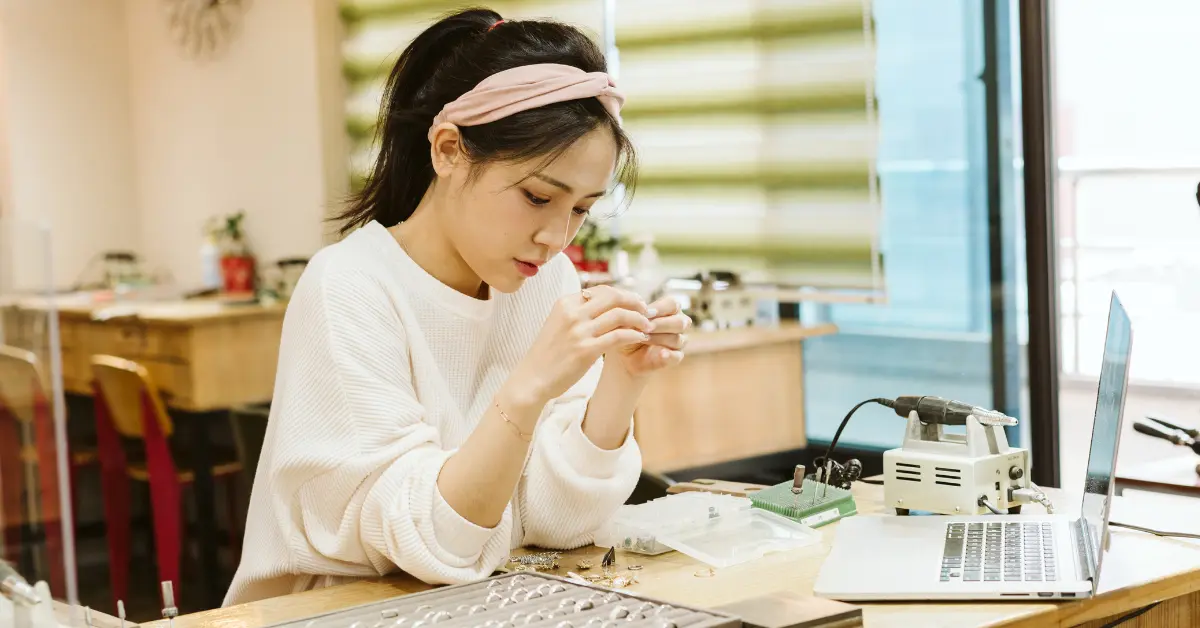
Step-by-Step: How to Make Acrylic Gem Earrings
Creating your own acrylic gem earrings is both easy and incredibly satisfying. Here’s a quick how-to:
- Design your piece: Lay out your gems on a flat surface. Play with shapes and colors until you find a combo you love.
- Apply the glue: Using a toothpick, place a small amount of glue on the back of the gem. Be sparing—less is more.
- Attach to finding: Carefully press the gem onto the earring post or flat pad. Hold for a few seconds.
- Let dry: Most glues need 24 hours to fully cure. Place your piece on a flat surface and leave it undisturbed.
- Optional seal: Use a clear sealant spray to add durability, especially if you’ll wear them often.
Repeat these steps with different colors and shapes to create a whole collection. Knowing how to make acrylic gem earrings means you can match them to any outfit or season.
Acrylic Gem Necklace Tutorial
Now that you’re confident with earrings, let’s take it up a notch. This acrylic gem necklace tutorial will have you creating statement pieces in no time.
- Select a focal gem: Choose a large, eye-catching acrylic gem as your centerpiece.
- Add accent gems: Arrange smaller gems around the focal piece on a flat base (a pendant tray works well).
- Glue and cure: Use the best glue for acrylic gems and allow full curing time.
- Attach to chain: Use pliers to connect your pendant to a necklace chain with jump rings.
- Customize: Add charms or beads for extra flair.
Don’t be afraid to experiment. Some of the best designs come from spontaneous creativity.
Creative Uses: Acrylic Craft Gems for Scrapbooking
Acrylic gems aren’t just for jewelry. If you love paper crafts, try using acrylic craft gems for scrapbooking. They add a tactile sparkle to pages and can highlight themes like celebrations, weddings, or birthdays.
Hot tip: Use flat-backed gems and the best glue for acrylic gems to ensure they stay in place without damaging your paper.
You can even create matching scrapbook pages and jewelry sets as unique gift bundles.
Essential Acrylic Gem Jewelry Care Tips
Once you’ve poured love and effort into your pieces, keeping them beautiful is key. Here are the most important acrylic gem jewelry care tips:
- Avoid moisture: Acrylic can cloud over time if frequently exposed to water. Always remove jewelry before swimming or showering.
- Store smart: Keep items in a dry, cool place, preferably in a soft pouch to prevent scratching.
- Clean gently: Use a soft cloth—never abrasive cleaners.
- Glue touch-up: If a gem loosens, reapply the best glue for acrylic gems and let it cure again.
- Avoid heat: Excessive heat can warp acrylic or weaken adhesive bonds.
Regular care ensures your handmade jewelry remains as vibrant as the day you made it.
Getting the Most Out of DIY Acrylic Gem Jewelry
Besides personal wear, your acrylic gem creations can be fantastic gifts or even products to sell. Custom keychains, hairpins, brooches, and bookmarks are popular items that incorporate these same techniques.
Even beyond jewelry, consider trying acrylic craft gems for scrapbooking, decorating phone cases, or adding sparkle to holiday cards. When you understand how to make acrylic gem earrings and explore beyond, your possibilities truly multiply.
If you’re looking for inspiration, Pinterest and Etsy are packed with ideas, but remember: your best designs come from your own style.
Final Thoughts
Crafting DIY acrylic gem jewelry is more than just a pastime—it’s a creative outlet, a potential income source, and a way to express your personality. Whether you’re trying out your first acrylic gem necklace tutorial or gluing gems to your scrapbook, the key is to enjoy the process.
Remember to experiment, stay curious, and never underestimate what your hands can create.
The desire to create is one of the deepest yearnings of the human soul.” — Dieter F. Uchtdor
Happy crafting!