I still remember the first time I tried an acrylic gem painting tutorial — I thought I’d create something dazzling, like a canvas that could rival a jewelry store display. Spoiler alert: my “gem-inspired acrylic artwork” looked more like a flattened blueberry than a crystal. But that glorious flop was the start of my love affair with acrylic gem effects and everything that sparkles under a paintbrush. If you’ve ever stared at a gemstone and thought, “I wish I could paint that shine,” this guide is for you. Today, I’ll show you how to paint gem textures with acrylic gem effect, master crystal effect acrylic art shine, and turn your ordinary canvas into a kaleidoscope of color. So grab your brushes — and maybe a little patience — because we’re about to dive into the art (and joy) of acrylic gem painting.
What Makes an Acrylic Gem Painting So Captivating?
There’s something oddly magical about transforming liquid color into something that looks solid, shiny, and precious. Acrylic gem effect painting is all about illusion — creating the depth and sparkle of real gems using layers, highlights, and contrast.
Acrylics are perfect for this because they dry fast and can be layered easily. Unlike watercolor (which is basically that one friend who never commits), acrylics stay vibrant and opaque. They give you control to add luminosity — that glass-like crystal effect acrylic art — without losing intensity.
When I first discovered the gem-inspired acrylic artwork trend on social media, I felt both inspired and intimidated. Everyone seemed to have perfect gradients and flawless reflections. But once I learned the technique behind the shine, it all became surprisingly achievable — and fun.
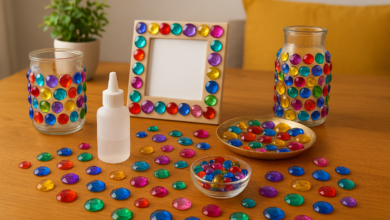
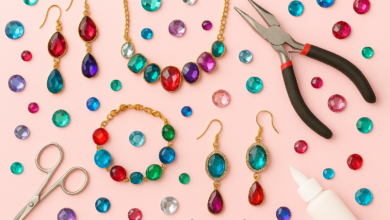
Materials You’ll Need (a.k.a. The Sparkle Arsenal)
Before you dive into painting, here’s your checklist — and no, glitter isn’t mandatory (though I won’t judge if you use it anyway):
- Acrylic paints: Primary colors, white, and black. Metallic paints optional for extra shine.
- Brushes: A mix of fine liners and flat brushes.
- Canvas or paper: Smooth surfaces work best for the gem texture.
- Palette knife (optional): For creating sharp light streaks.
- Gloss varnish: Your finishing “shine coat.”
Pro tip: If you’re new to acrylic gem painting tutorial, start small. Try painting one gem at a time before moving to full gem clusters or crystal landscapes.
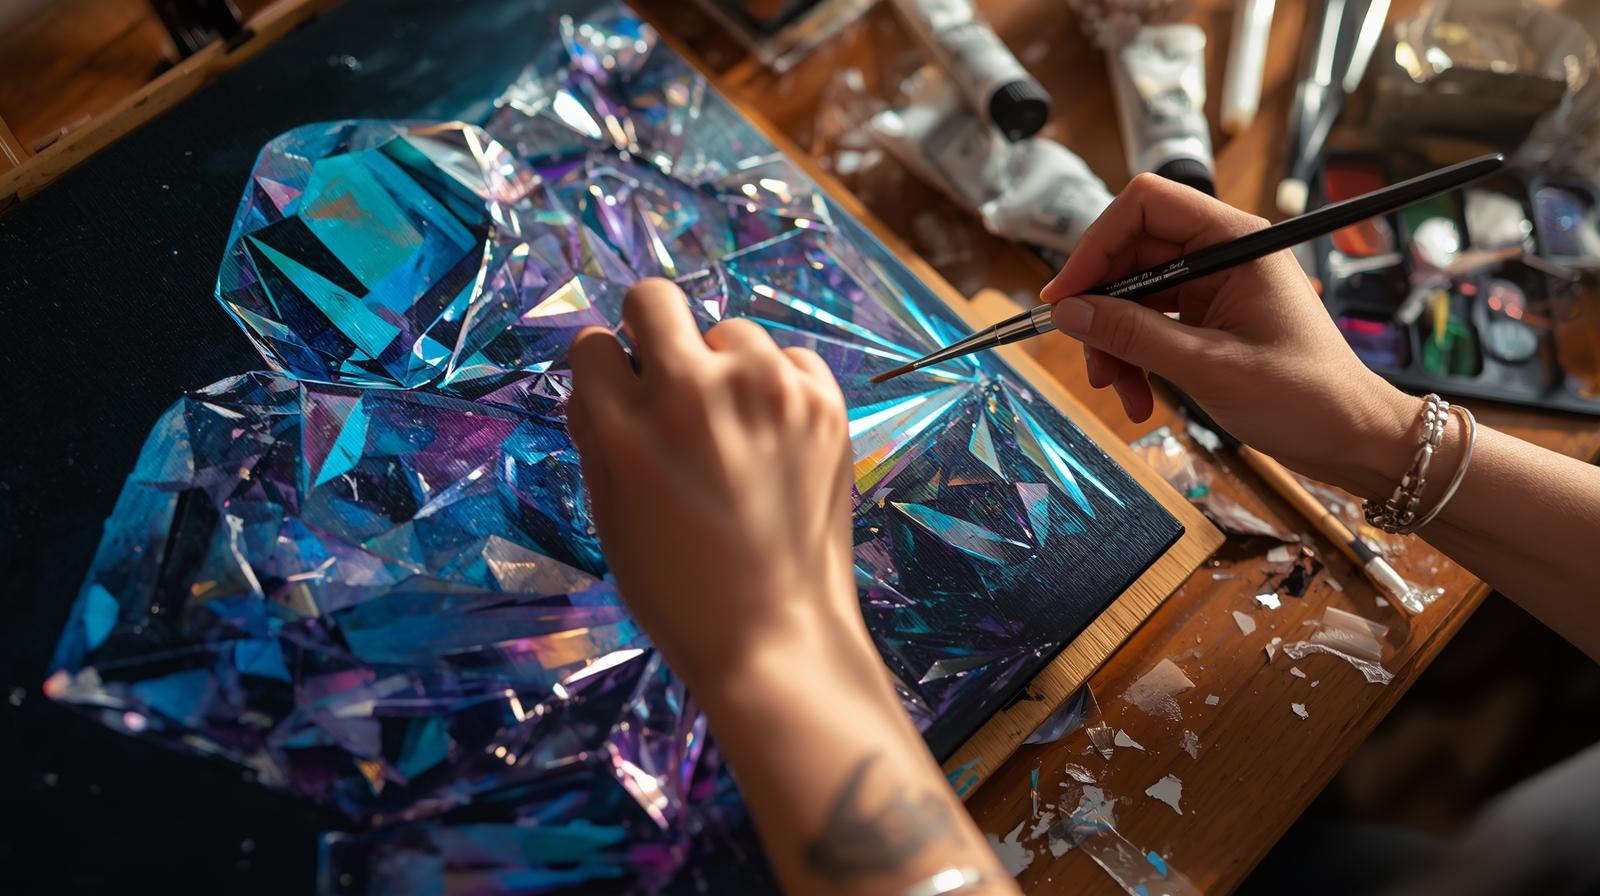
Acrylic Gem Painting Tutorial: The Step-by-Step Gem Creation Process
Alright, let’s get practical. Here’s how to bring your crystal to life:
Step 1: Sketch the Gem Shape
Think geometric — gems love symmetry. Draw a few triangles or polygonal shapes. This will guide your light reflections later.
Step 2: Base Layer Magic
Lay down your mid-tone color first (for example, turquoise or magenta). This becomes your gem’s main hue.
Step 3: Deep Shadows & Bright Highlights
Use darker shades at the edges and lighter tints in the center. This gives the illusion of depth — the heart of any acrylic gem effect.
Step 4: Add Sparkle and Shine
Now comes the satisfying part. Take a fine brush and use white paint to add highlights where light would naturally hit. A small streak or dot can suddenly make your gem “pop.”
Step 5: Seal the Shine
Once dry, apply gloss varnish. This transforms your gem-inspired acrylic artwork into something that looks like it’s been polished by a jeweler.
When I finished my first “successful” gem, I placed it near my window. The light bounced off the gloss and — for a moment — it fooled me. I might’ve done a small victory dance (don’t worry, no one saw).
Acrylic Gem Painting Tutorial: Common Struggles (and How to Beat Them)
If your first few attempts look more like colorful puddles than gemstones, trust me — you’re in good company. Here are a few classic pitfalls:
- Problem: The gem looks flat.
Fix: Add deeper shadows. Depth equals sparkle. - Problem: The shine feels off.
Fix: Check your light source. Highlights should align with it. - Problem: The colors look muddy.
Fix: Let layers dry fully before adding new ones. Acrylics hate being rushed.
When I started, I thought layering faster meant finishing faster. Instead, I ended up with something resembling a swampy rainbow. Lesson learned: sometimes creativity just needs a coffee break.
The Science (and Art) of Shine
Creating shine isn’t just about adding white paint. It’s about knowing where and why light behaves the way it does. Think of your gem as a mini world — with valleys, peaks, and light bouncing around.
This is where acrylic painting techniques for shine come in handy. You can even use dry-brushing or glazing to subtly reflect light, giving your gem a multi-dimensional glow. Experiment. Layer. Play. The goal isn’t perfection — it’s presence.
Personalize Your Gem — Make It Yours
Your gem doesn’t have to look like anyone else’s. Love amethyst? Go wild with purples. More of an ocean-soul? Aqua and blue will sing for you.
In one of my favorite pieces, I mixed metallic gold with deep emerald — and called it “Dragon’s Heart.” A bit dramatic, sure, but hey, art is supposed to be.
Whether you’re painting a single crystal effect acrylic art or designing gem-inspired acrylic artwork, the magic happens when you infuse your own story into it.
Acrylic Gem Painting Tutorial: Displaying Your Crystal Creations
Once you’ve finished, show them off! Frame them under glass, use them as background textures, or even photograph them for digital art prints. The acrylic gem effect looks stunning on social media — natural light makes those colors gleam like real jewels.
And don’t be afraid to experiment. Combine this with resin art or use it to accent character illustrations. The versatility of this acrylic gem painting tutorial lies in how it blends creativity with precision.
Final Thoughts — and a Friendly Challenge
So, there you have it — a full guide to turning paint into gemstones, frustration into fun, and blank canvases into shimmering treasures.
But here’s the thing: no matter how many tutorials you read, the best teacher is still your own brush. Each stroke teaches something — patience, curiosity, maybe even humility (especially when you accidentally paint a “gem” that looks like a potato).
If you’ve read this far, I challenge you: create one gem today. Just one. Post it, tag your favorite art community, and share your sparkle with the world.
And when you do — tell me how it went! Did your crystal shine like a diamond, or did it take a few tries to get there? Either way, you’re learning, and that’s where the real glow begins.